In honor of the SpaceX Dragon’s historic flight to the ISS- here is a render, and a .blend file of the SpaceX Dragon!
http://funkboxing.com/wordpress/wp-content/blendfiles/SpaceXDragonCapsule.blend
In honor of the SpaceX Dragon’s historic flight to the ISS- here is a render, and a .blend file of the SpaceX Dragon!
http://funkboxing.com/wordpress/wp-content/blendfiles/SpaceXDragonCapsule.blend
Take this! Mr. hasn’t-posted-in-months.
Just playing around with Blender and Cycles.
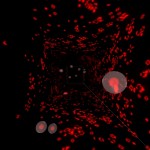
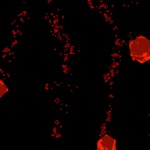
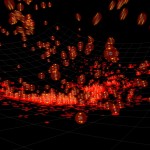
This is an attempt to merge Blenders Dynamic Paint feature with cellular automata. It started as a python script but then became even more of an educational experience when I realized python wasn’t going to be fast enough to run conway’s life on a 64x grid, let alone a 4Kx one, which was my initial goal. These ended up being 512x grids. I could have gone bigger but I’m using a little netbook for all this so I didn’t go nuts.
After figuring out that python wasn’t going to be fast enough I set out to make a c++ version, not in Blender, just in c++. Long story short it’s an atrocity of loops inside a main function. I didn’t even bother to pass any arguments, just recompiled every time I changed paths. Anyway it ended up being lots faster than the py scripts and I finally had an excuse to write a function I knew very well in a language I’ve been intimidated by for some time (and still very much am).
The c++ code uses the ImageMagick++ library, which made things much easier, but you’ll have to get this lib if you want to compile and use this. Hopefully this whole process has prepared me to get on porting the lighting generator to c++, which really needs to happen if if it’s ever going to be more than a gimmick.
So anyway, here’s the c++ code and here’s the Blender python script that I abandoned in favor of doing it in c++. For the record- this is bad, bad code. Very bad. Also here’s the command line to compile with g++ and imageMagick++, since that took awhile to get past.
user@pc:~$ g++ `Magick++-config –cxxflags –cppflags` conway.cpp -o conway `Magick++-config –ldflags –libs`
Here’s the process for using this to dynamic paint with conways life.
1) dynamically paint a canvas with a brush. This will paint ‘live’ cells onto the canvas
Turn on ‘dissolve’ and set to dissolve in 1-3 frames. Otherwise these become ‘immortal’ cells, which makes for a weird simulation.
I used red channel only for these demos.
2) compile and run the c++ code.
This will run the simulation on the dynamic paint cache images. It runs the simulation from the initial frame, but always includes the red cells from the next dynamic paint frame so they will be used in the next simulation step.
3) use this simulation output as a map in place of the dynamic paint output.
Sounds easy, and it kind of is, and kind of isn’t.
So if you want to do this yourself- if you know c++ it should be easy. If you don’t it will be very hard. If you’re just learning c++ it may be worthwile to try.
Not sure where I’m going with all this, as usual it was just something to do. Hope you dig it.
Here’s a simple script that lets you ‘bookmark’ camera positions.
It’s a little redundant since the same thing can be accomplished a number of different ways but after a discussion with another BR BUG member I thought I’d take a swing. So here’s the script (right-clk>save as)
Just uncompress, then copy the script to your addons folder and then activate.
You get a panel in the 3DView>Toolbar that lets you add, delete, and change marks.

It saves the loc/rot/dofdist/lens to a textblock called CAMERAMARKS. I know this is a hacky implementation but I’m a hack and that’s just what I do. It’s super rudimentary now but it was only about 3 hours of coding and most of that was looking through old code to remember how to setup the UI, which I needed a refresher on anyway so this was a good little project. So tell me what you think, if it’s useful, what it needs to become useful, etc.
My Blender Laplacian Lightning Generator has been accepted into the Blender Contrib SVN!
That means it’s an ‘official’ add-on but is not included in the trunk.
I’ve been using and coding in Blender for nearly 5 years this is a very special moment for me. Blender means a great deal to me and this script is the least I can do to show my appreciation.
I am very proud and honored to have some of my code accepted as part of Blender. I am also very grateful for the intelligent and friendly support I’ve received from Blender coders and from the author of FSLG. I sincerely hope this add-on proves useful to the Blender community.
Thanks to the Blender community for everything. I will keep doing what I can.
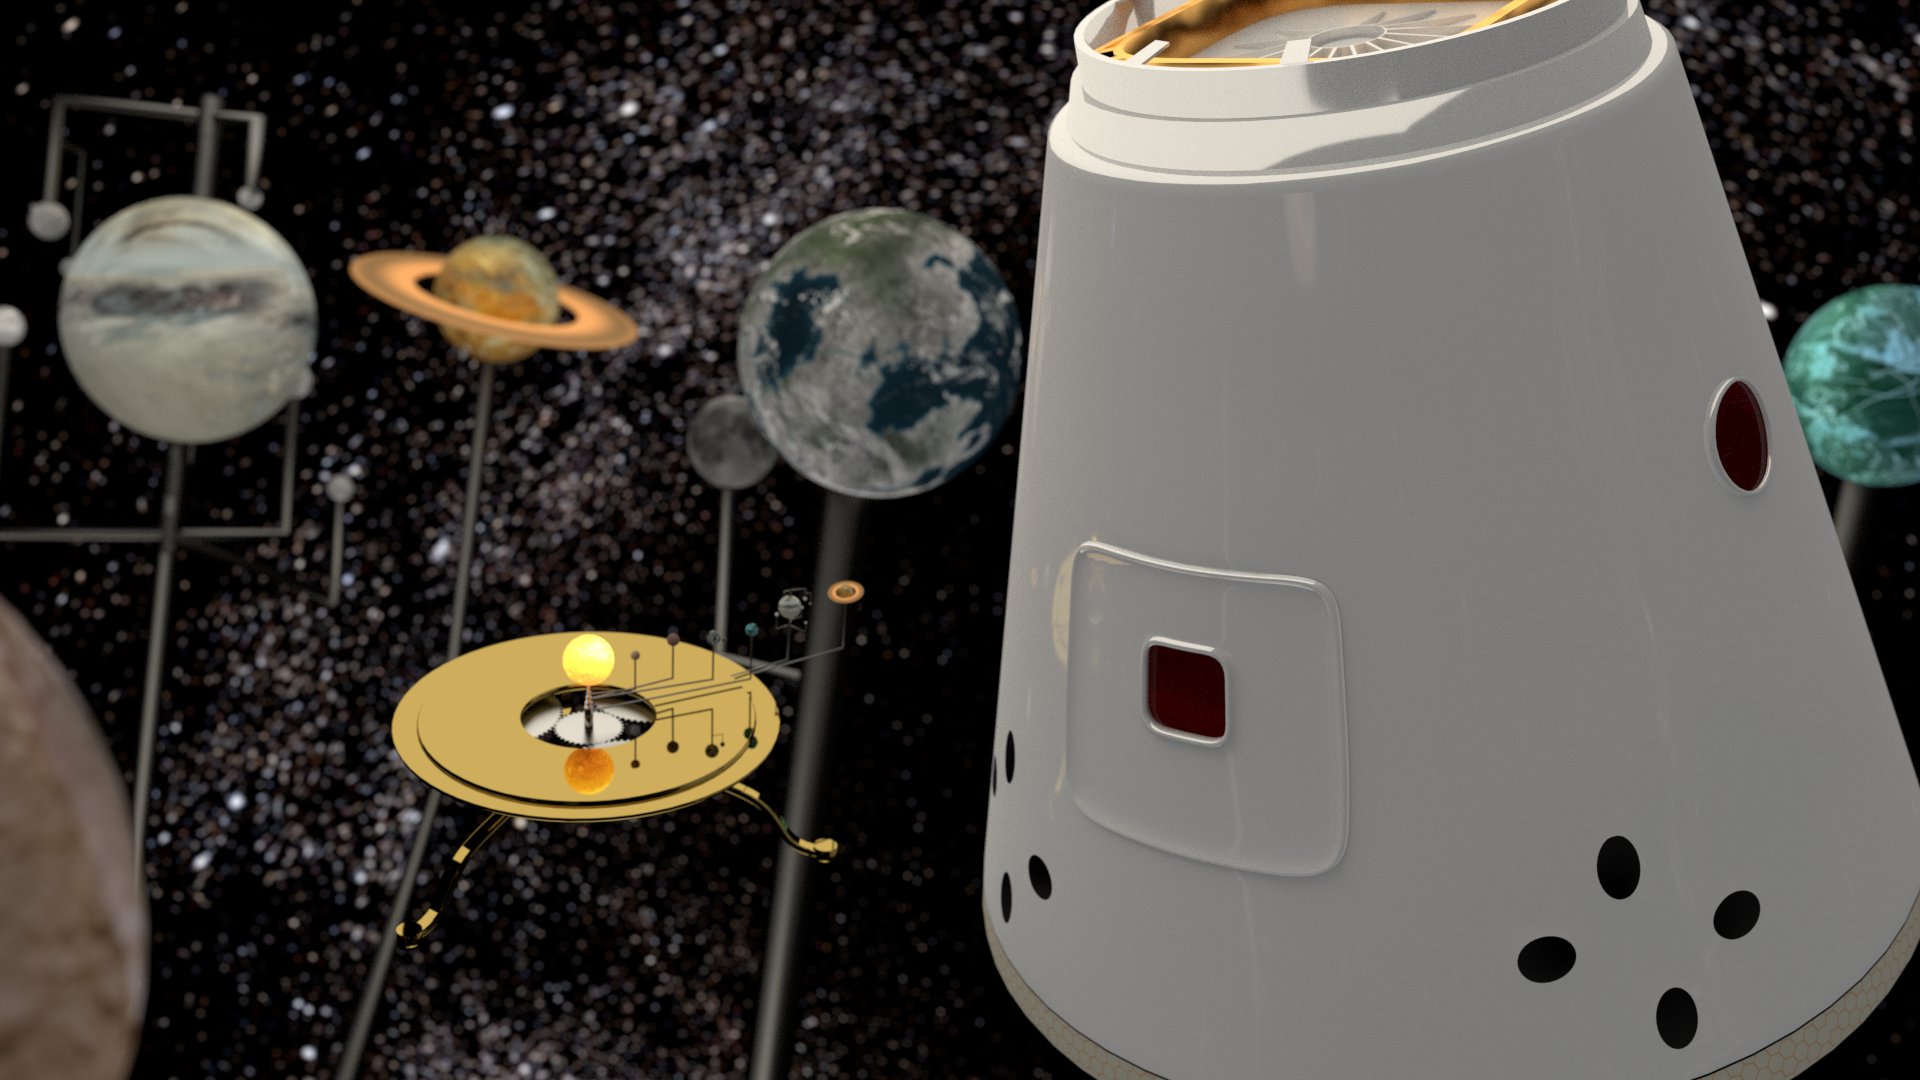
Made a little Orrey awhile back for this render (on the left side in the magnifying glass) so I decided to rig it up with drivers to animate it.
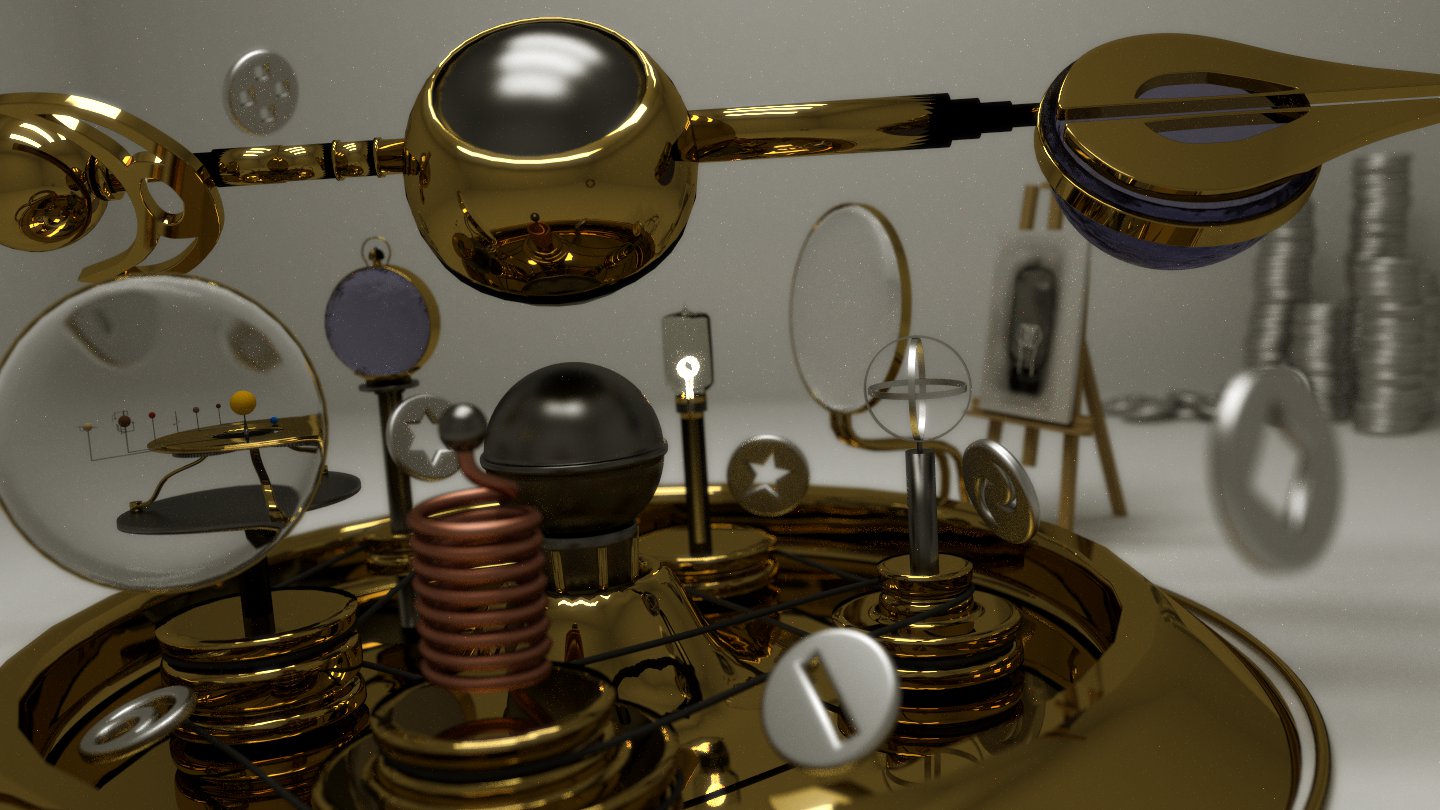
It’s just for looks really, nothing is scaled correctly, orbits are more-or-less arbitrary, I stopped at Saturn, and I only gave Earth and Jupiter moons and Jupiter’s are all wrong. So probably don’t try predicting any astronomical phenomenon with this or anything. Astrological predictions might work though.
Anybody else think those words are too similar? Astronomy, Astrology, also Cosmology and Cosmetology. Darn greek roots…
Anyway- I like clockwork mechanisms, I love space, and Blender rules, so this was pretty much inevitable.
Here’s the .blend file if you want to check it out.

What it Is – ProgrAnimals is an initial framework for variable morphology pose-controlled physics-based animation in Blender, whatever that means.
What it Does – In simplest terms this script creates a game-engine physics based ‘walking ragdoll’ from a user-defined armature, from humanoid biped to something much more bizarre. I think the game ‘Spore’ is probably the best analogy, where people can make creatures and they sort of walk or hobble based on how they’re built. This is the same notion, except much less automatic right now. The user has to define a little more about structure, muscles, and gait.
Why it Be – This is inspired first and foremost by my enduring love of doing horrible things to ragdolls, for which I make no excuses or apologies. The implementation is inspired especially by Cartwheel-3d, SIMBICON, and Philippe Beaudoin, and also by Ari Shapiro’s DANCE. The future goals of this are somewhere between Endorphin, Spore, and may also include possible robotics integration with Arduino. Ultimately I’d like to create a break-dancing robot army to help me stamp out tyranny, oppression, and tired dance moves.
This is the unexpected result of some of what I learned from the whole progranimation thing. I thought I would make a more complex pose-control system, but I ended up wanting to make a more generalized system that could work with arbitrary leg configurations. Originally I think it had something to do with making circuit components walk around on a circuit board but that’s another story, might still do that though. Anyway- this is actually a vastly simplified controller compared to Uno and Deuce in progranimation. No balance feedback, no uprightness vector, not even a collision sensor on the feet, it’s just proportional derivative controllers and a timed state-machine. It’s about the most bare-bones pose-controller I think you could make, but it’s still hilarious to watch it make stuff walk around. I hope to expand from here by giving the torso and legs considerable options as far as number of states, balance sensors, state-switching reactions, etc. First I wanted to get something functional and this is it.
I hope this will be useful and interesting, but it may take a little time to get a creature working. That said, it can be very fun and I hope I’ve made it easy enough to use that most Blender users can figure it out. Here are a couple of walk-throughs that demonstrate how the process works.
—
I. EDITING WALK STYLES – Changing the gait of a pre-made biped rig.
1) Download this file ProgrAnimals-I-biped.blend and open in Blender2.58a

2) Press ‘P’ to run game engine. Watch as very little happens. Press ‘ESC’ to stop game.
3) Select the iARMa-pg-0 armature (pose-goal armature). Switch to POSE MODE, and change the pose to something approximating this screenshot.

[Exact settings: BONE x|y|z rotation : THIGH0 -45|0|0 | SHIN0 90|0|0 : THIGH1 15|0|0]
4a) Run game again (P).
EXPLANATION: The left leg in the pose-goal armature is the ‘Swing Leg’, the right is the ‘Stance Leg’. They are the pose-goals that the leg will try to assume when in this state. Poses can also be stored in poseLib for convenience.
4b) while not bored: change settings; run game again (P).
5) Select the iARMa armature and switch to EDIT MODE.
6) Select each THIGH bone, change the bones Custom Property legstate = 0 on both.

7a) Switch to OBJECT MODE. Run game again (P).
EXPLANATION: legstate defines if the leg starts on swing or stance, setting both to the same makes the ragdoll jump.
7b) Change one thigh back to legstate = 1 (make the ragdoll walk again)
8} Select the iARMa-THIGHl-k empty (best to select from outliner). Look at the Scale values in the ‘N’ properties view. Change the ‘X’ scale to 10. Do the same on iARMa-THIGHr-k.
9) Run game again
EXPLANATION: The scale setting on these empties define the stiffness and damping parameters for their joints. See progranimation for a better explanation of PD controllers)
10) Edit the iARMa armature. Select the TORSO bone – change the bones Custom Properties: statetimer = .25; zgoal = ‘BALL’

11) Switch to OBJECT MODE. Run game again (P)
EXPLANATION: statetimer times the switch between states, zgoal defines the heading goal of the character. zgoal can be the name of an object or an angle in degrees using the prefix ‘a:’ ex. a:45
II. SETTING UP A NEW CREATURE
1) Download this file ProgrAnimals-II-quad.blend and open in Blender2.58a.
2) Select the iARMq armature.
3) In the script editor make sure the variable setupSEQ = 0. Run the script ALT-P. This script will add custom properties to the bones of this armature based on the names of the bones.

BONE SETUP/NAMES:
The script will use bone names as a starting point to setup constraints with axis and angle limits for standard joints. see code for values. THIGH, SHIN, FOOT, TOE, REVKNEE, just use these strings somewhere in the bone. The names aren’t necessary but they make setup much easier as they add the necessary Custom Properties to the bones.
CUSTOM PROPERTIES ADDED TO BONES:
TORSO
statetimer: time to switch states
zgoal: goal in degress ‘a:45’ or object name ‘Cube’
THIGHS
legstate: leg start state (0-swing/1-stance)
legtype: type of leg config (for multi leg setups)
ALL BONES:
usebone: create box for this bone
xyzmin/xyzmax: values to be used to create 6dof rigid body joints
*usebone and legtype are the only values that cannot be modified after this step
4) Select the armature, enter EDIT MODE. Make sure Custom Properties were added to bones. Select the THIGH bones. Change the value of legtype so the front legs are ‘0’ and the back legs are ‘1’. This will let the program distinguish between the different types of legs and will create pose-goal armatures for each leg type. You can have as many types of legs as you want, but for now they only have 2 states each: swing/stance.
5) Switch to OBJECT MODE. Select the armature. In the script editor set variable setupSEQ = 1. Run the script. This will create the boxes and empties for each bone. Boxes are game objects connected by rigid body constraints. Empties define stiffness/damp gains at each joint with their xyz scale values.

6) Select the armature. In the script editor set variable setupSEQ = 2. This will create pose goal armature(s) to be used to define swing/stance state pose goals for each leg type.

7) Adjust pose-goal armature poses as desired. Press ‘P’ to run game engine.
8} Design a crazy five-legged monster and make it chase some other crazy thing around.
9) Game> Record Animation. Rinse, Repeat.
NOTES FOR MAKING YOUR OWN CREATURE:
*Legs must at least have a thigh, the rest is optional. Feet are good to have though.
*Legs can be nearly any config as long as they do not branch (no double-footed legs or anything like that, a long tail is fine though).
*Use very short names on armature or bones, under 5 chars each (sorry).
*Do not use ‘-‘ (dashes) in the names of bones or armatures. I need those.
*The mass of each bone-box is determined by the length of the bone. This can make for very heavy limbs so you might want to adjust this. You may also want to change the shape of certain bone-boxes, that should work as long as you don’t change the origin.
*The settings created for THIGH, SHIN, FOOT, etc. are generic and can be changed to anything. The settings for each joint are combination of the rigid body constraint settings and the stiff/damp parameters. The initial setup of the rigid body constraint is defined by the xyzmin/xyzmax setting on the bone, you can change these Custom Properties before you create this bone-boxes, or you can adjust them in the constraint settings after they’re created.
*Characters should be created facing Y+ forwards.
III. TIMER OFFSET – Offsetting state switch timing.
This is a little cheat that offsets the state switch timing for a leg by a given amount. This allows sequential legs like the centipede guy, and galloping quadrupeds and whatnot. Setting it up can be a little tricky and depends on the creature design and the walk style you’re looking for.
Here is the .blend file with script with the timeroffset feature added. The example files for the previous tutorials do not have it. This file also contains all the creatures used in the demo video.
The timeroffset property is added to each leg bone in the armature when the first part of the setup is run (setupSEQ = 0). When the game objects are created the legs will use this bone property offset when that state is triggered.
That’s about it for the offset. It was a lot cheaper than breaking into more than two states and it works pretty well considering how simple it was to implement.
IV. BIG WARNING – BUGS and ERRORS and CRASHES! OH MY!
Creating the pose-goal armature in the setup (setupSEQ = 2) turned out to be a total fiasco. I had to con bpy.ops into making some bones for me and every once in awhile it just refuses. It’s a context thing but I never could figure out why it works sometimes and sometimes doesn’t. So enjoy that. If you have a problem with a rig, try it 3 more times, if it still wont work feel free to contact me, I’ll try to help you sort it out.
V. STUFF I HAVEN’T THOUGHT OF YET
I may add notes here in the future when I think of them.
Hey, here’s something- you can ‘deadleg’ a creature by turning all the usebone bone properties to False in a leg. I guess you could make a limping zombie character or something, though you’ll have to compensate the stiff/damp on the other leg so it’s strong enough to carry the weight and the poses will have to be offset so he stays sort of balanced.
—
Notes – Once you start playing with pose-goals you may notice that there is something horribly wrong with the joint torques. An extreme pose can lift the character off the ground and fly (not in a cool superman way, more like falling up). Clearly this is not physics. Working on that.
Also the feet didn’t stick to the ground like I’d expect so i added a hack where the obj.setLinVel.x.y = 0 on the last object in the chain of the stance leg, which ends up being the toe if you have one. So even in flight forward momentum is lost to this bs-friction-hack. Later I might try adding material friction to the feet or something.
In the future I’d really like to improve the whole implementation in Blender but I think the key will be porting it to the animation system once we get rigid body dynamics in the physics system. It would be great to have these rigs interact more cleanly with other dynamics. I love the game engine but the ‘Record Animation’ thing makes this a really weird workflow, glad it’s there though.
Why No UI? – mostly because the whole setup script is kind of sketchy as it is, it randomly crashes if you keep remaking ragdolls from the same armature for some reason. Plus these are program driven animations so I think if you’re going to use this for anything you’re going to have to get into the code eventually anyway.
Personal Request – If you make a cool critter with this please show me! A render is worth a thousand comments. Hope you enjoy!
This blog is becoming a little ragdoll-centric.
I’ll do something else for awhile I promise.
I should win the Nobel Piece Prize.
For tearing ragdolls to pieces.
Boo-ya!